
msrx-usa.com
msrx-usa.com
The MSRx Kreep Killer can remove over 90% of the creep in a mil-spec trigger group.
NOTE / Check to make sure your grip screw hole is threaded all the way through before ordering. \ NOTE
The MSRx Kreep Killer pre-travel (creep) reduction kit includes the 1/8" and 3/16" hex wrenches that are required for installation. As certain aftermarket AR grips have a bit more "meat" on top than a typical A2, we include both the 3/4" long and 5/8" long grip screws.
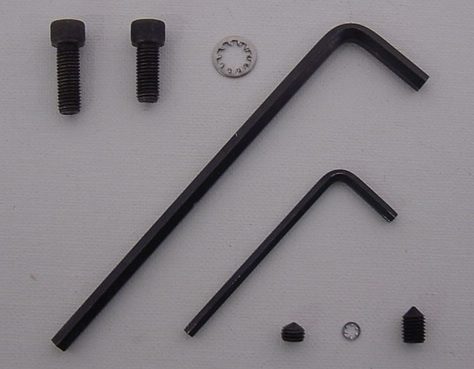
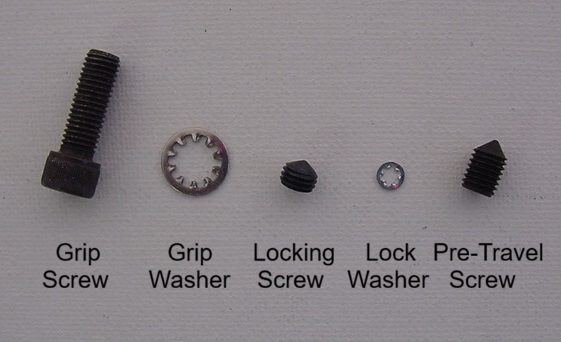
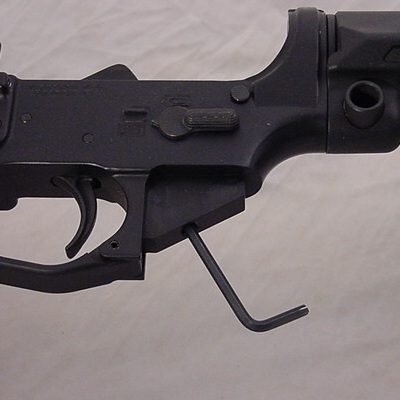
The Kreep Killer consists of two set screws, separated by a small lock washer. The longer pre-travel screw presses against the rear of the trigger bar when threaded through the grip screw hole in the lower, removing the creep. The shorter locking screw secures the setting when tightened against the lock washer and pre-travel screw.
After removal of the grip (always be mindful of the spring and detent) cock the hammer and move the selector to the safe position. Now, place the longer "pre-travel screw" on the end of the 1/8" hex wrench and thread it into the grip screw hole in the lower receiver.
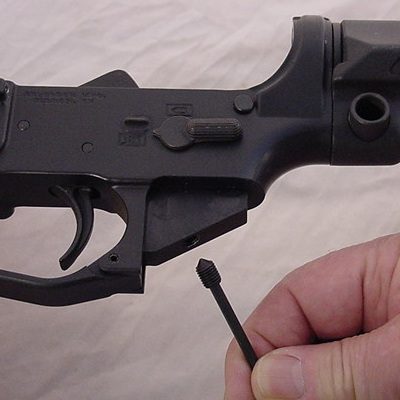
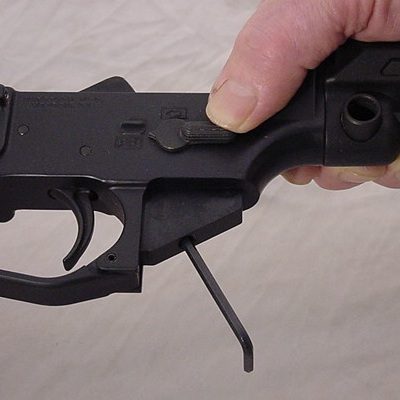
Continue threading the pre-travel screw into the lower until you feel it contact the trigger bar. You should now be able to see the trigger moving rearward as you tighten the set screw, removing the creep. Tighten until you can no longer operate the safety.
Next, reverse the pre-travel screw counter-clockwise from 1/8 to 1/4 turn, while ensuring that the safety selector will fully function without resistance.
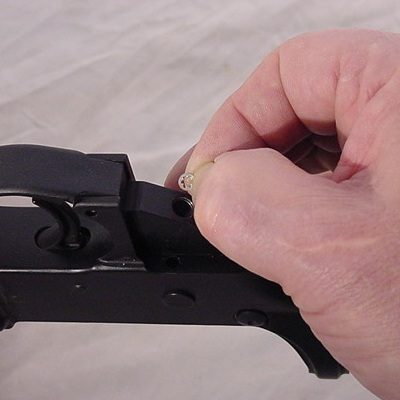
Then, rotate the lower receiver so that the grip screw hole is facing upward, because gravity is our friend for the next step. Drop the small "lock washer" into the hole.
Shine a light down into the hole to make sure that the lock washer is laying flat against the pre-travel screw. If it isn't, you can use the 1/8" hex wrench to tap it into place.
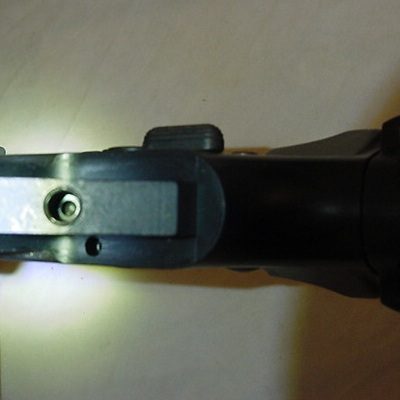
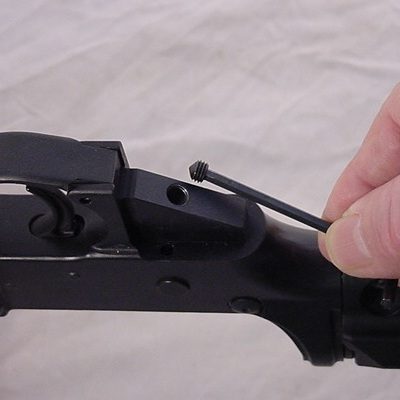
Once it has been established that the lock washer is in the proper position, place the shorter "locking screw" onto the 1/8" hex wrench and thread it into the grip screw hole until you just feel contact with the lock washer. Do NOT tighten the locking screw at this time.
Finally, while maintaining pressure against the rear of the trigger, tighten the locking screw. If you are into numbers, we suggest 15- 20 inch lbs.
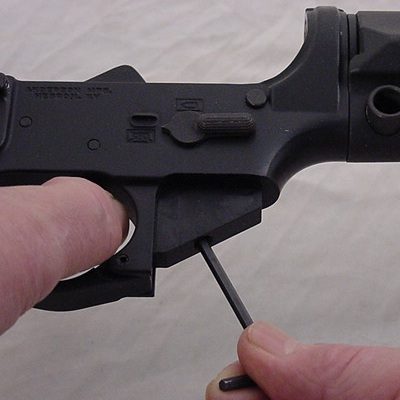
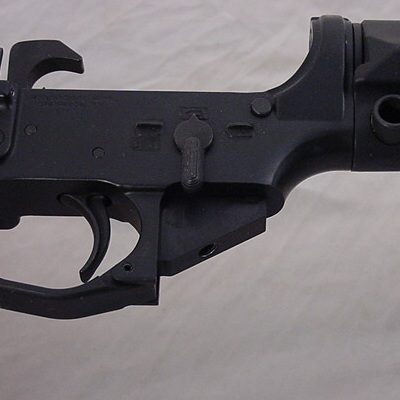
Once everything is all tightened up, ensure that the safety selector functions with out resistance. If you feel "drag" or the selector seems "sticky", the pre-travel screw needs to be backed off a bit. Simply remove the locking screw and lock washer, and then loosen up the pre-travel screw 1/8 of a turn, re-assemble, tighten and re-test.
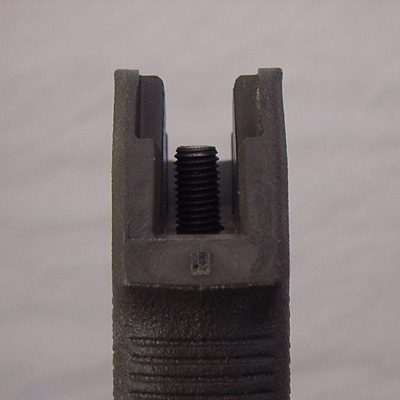
Some grips are thicker than others at the top, where the screw anchors the grip to the lower, so we include both a 3/4" and a 5/8" grip screw. Of the two grip screws that are provided, select the one that projects about 1/2", providing ample thread engagement of 2x the grip screw diameter.
Shown is a Magpul 'K' grip with the 3/4" grip screw.
We need your consent to load the translations
We use a third-party service to translate the website content that may collect data about your activity. Please review the details in the privacy policy and accept the service to view the translations.